How to Wash Your Wrapped Car: A Step-by-Step Guide to Maintaining that Showroom Shine
So, you’ve finally leveled up your ride with a custom vinyl wrap. Whether it’s a sleek matte finish or a head-turning color shift, a wrap is an investment that deserves the right care. In the dusty and sun-heavy climate of Arizona, maintaining that “just-wrapped” look requires a bit more than a quick trip through a gas station car wash.
In fact, the wrong washing technique is the fastest way to ruin your vinyl. Here is our professional, step-by-step guide to keeping your wrapped car looking flawless for years to come.
Step 1: The “Cool Down”
Never wash your car when the wrap is hot to the touch or has been sitting in the Tucson sun all day. Heat makes the vinyl slightly more pliable and vulnerable. Park in the shade and let the surface cool down before you even reach for the hose.
Step 2: The Pre-Rinse
Start by rinsing the vehicle with clean water to remove loose dirt and grit. This is a crucial step; if you start scrubbing while there is still sand or dust on the surface, you are essentially using that grit like sandpaper, which will cause micro-scratches (swirl marks) in your vinyl.
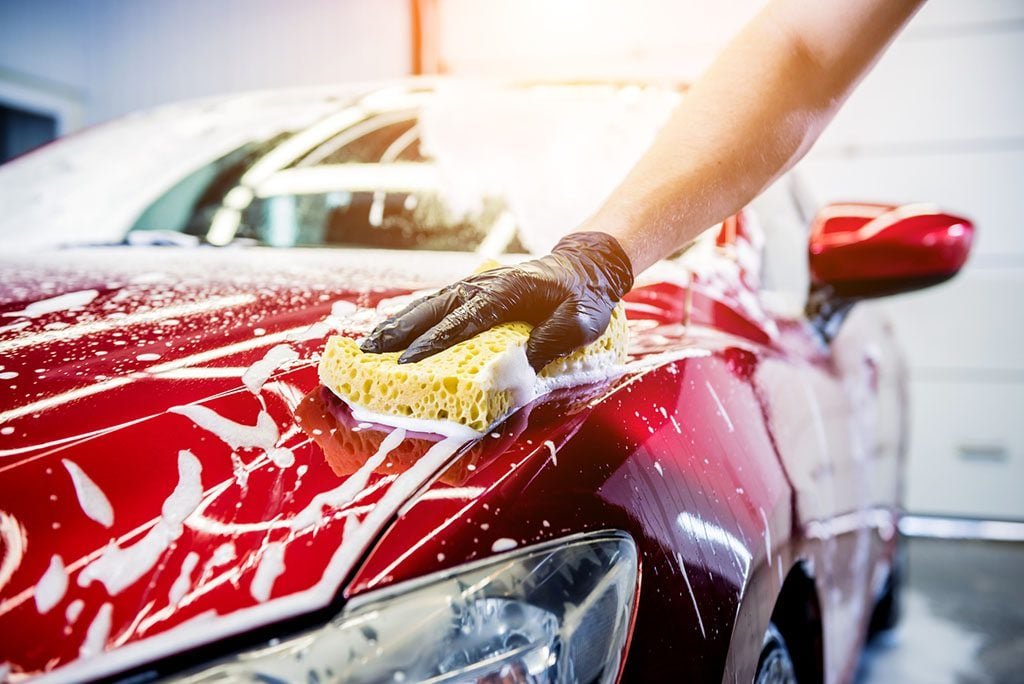
Step 3: Use the Two-Bucket Method
To keep your wrap pristine, avoid the automated “brush” car washes at all costs. Those heavy brushes can lift the edges of the vinyl and dull the finish. Instead, use the two-bucket method:
- Bucket 1: Filled with water and a pH-neutral, non-abrasive car soap (avoid anything with “wax” or “gloss enhancers” if you have a matte wrap).
- Bucket 2: Filled with plain water for rinsing your wash mitt.
Dip your soft microfiber mitt into the soapy water, wash a section, and then rinse the mitt in the plain water bucket to drop the dirt before going back for more soap.
Step 4: Gentle Pressure Only
If you are using a pressure washer, keep the nozzle at least 12 to 18 inches away from the surface. High-pressure water aimed directly at an edge or a seam can cause the vinyl to lift or “tunnel.” Keep the spray at a 40-degree angle to the surface.
Step 5: Spot Clean the Stubborn Bits
Bird droppings, tree sap, and bugs are highly acidic. If left in the Arizona heat, they can permanently stain or “etch” your wrap within days. Use a dedicated wrap cleaner or a mixture of isopropyl alcohol and water (2:1) to spot-clean these areas as soon as you see them.
Step 6: The “Pat Dry”
Water spots are the enemy of a clean wrap, especially with the hard water often found in the Southwest. Use a large, clean microfiber drying towel. Instead of dragging it across the surface, try “patting” the water away. This reduces friction and prevents the buildup of static electricity.
Pro-Tip: The Ceramic Advantage
If you want to make washing ten times easier, consider a ceramic coating designed for vinyl. It creates a hydrophobic “self-cleaning” layer that makes dirt and water slide right off. For the best results in the region, the team at Wrapp Starr recommends applying a coating immediately after a fresh wrap to seal in the color and provide an extra layer of UV protection.